
How to Transport an E-Bike by Car: Rack, Weight and Loading Checks
Transport an e-bike by car only when the vehicle, carrier and each bike position are approved for the actual load and fit. Weigh the bike in its transport configuration, include the carrier in the applicable vehicle or hitch load calculation, and follow the bike and rack manuals for attachments and battery handling. A carrier advertised as “e-bike compatible” is not approval for every bike or vehicle. If weight, attachment, clearance or a manufacturer’s instruction fails, choose another transport arrangement rather than adding improvised straps or adapters.
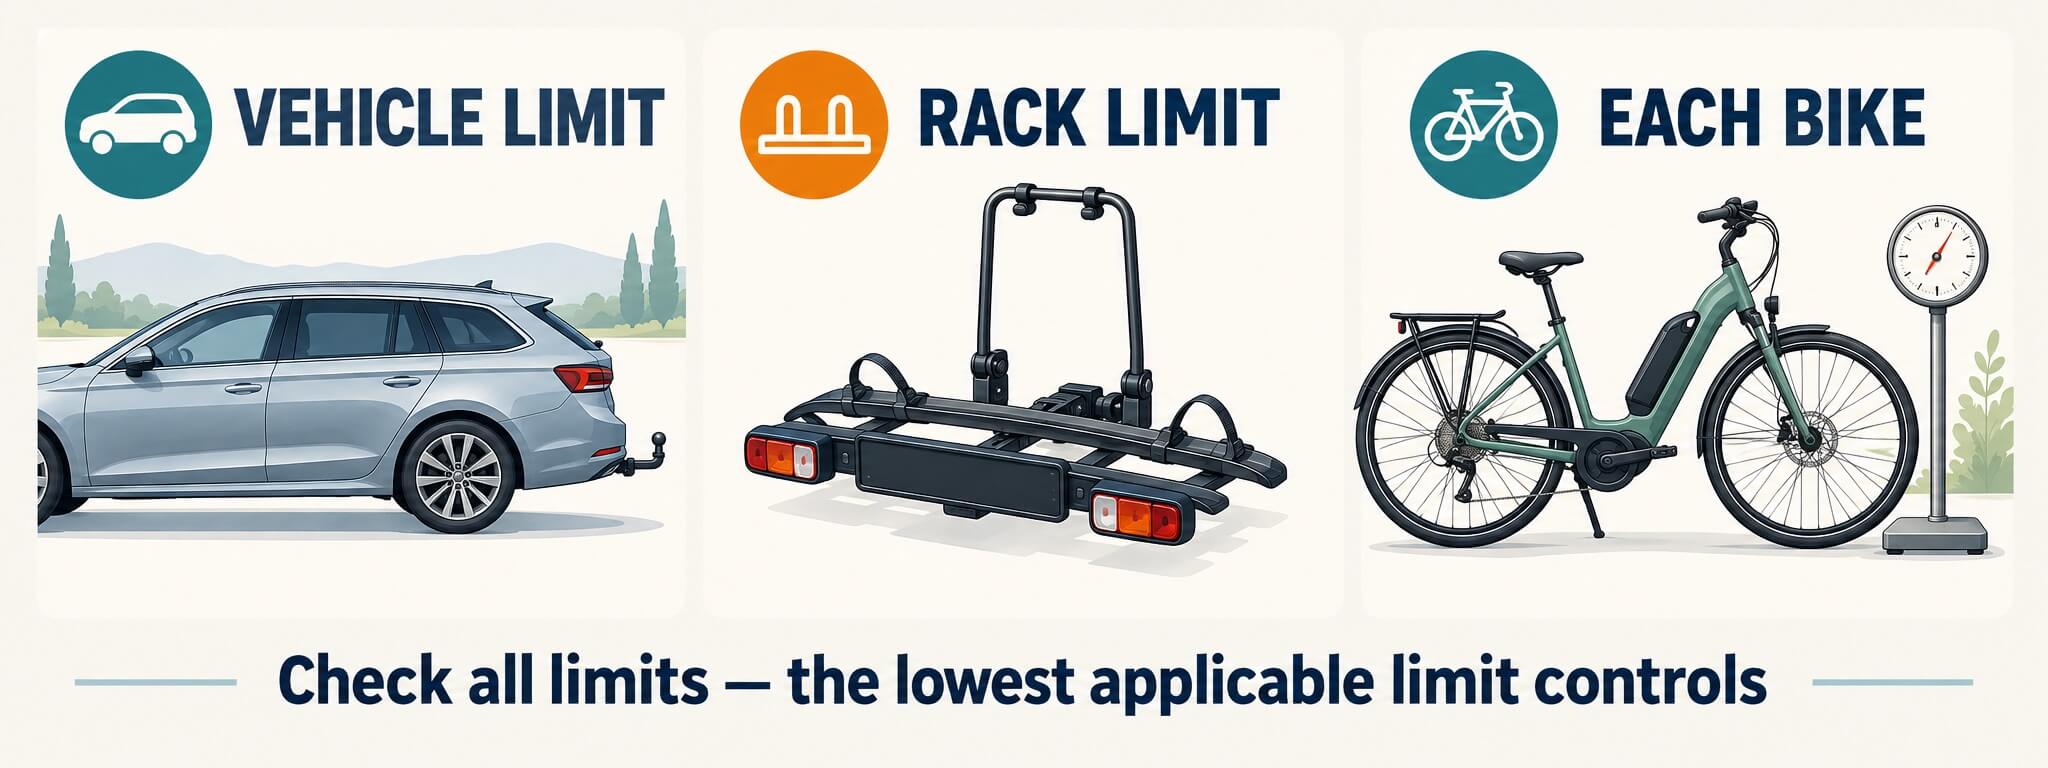
Choose a transport method that passes every check
| Method | Potential advantage | What must be confirmed |
|---|---|---|
| Approved rear platform carrier | Wheel support and potentially lower loading height | Vehicle/hitch approval, carrier and per-bike limits, wheel fit, attachment and clearance |
| Inside the vehicle | Protection from exterior road spray | Available space, safe lifting, secure restraint and vehicle load limits |
| Roof carrier | May leave rear access available | Roof-system approval and load limit, carrier’s bike limit, lifting safety and overall height |
| Rear hanging or tailgate carrier | May suit some vehicle/bike combinations | Explicit approval for the bike weight, frame and vehicle; never assume suitability from appearance |
The right answer may be “not with this rack”. Before buying a carrier, give the supplier your vehicle model and year, hitch or towbar details, number of bikes, actual bike weights, wheelbase, tyre width and attachment restrictions. Ask them to identify the approved carrier and manual for that combination.
Work through three separate weight limits
Thule’s hitch-carrier safety instructions distinguish vehicle, carrier and individual-bike limits. They also require the combined carrier and load to stay within the permitted hitch capacity. Use the instructions for your own model; a towing capacity is not a bicycle-carrier allowance.
- Vehicle and mounting system: identify the permitted load for this carrier application. Depending on the system, this can involve hitch, towbar, nose-weight, roof or other limits and manufacturer restrictions.
- Carrier total: compare all the bikes and items remaining on the carrier with its payload limit.
- Each bike position: check every bicycle against the relevant tray or position limit. Spare capacity elsewhere does not excuse an overweight bike.
A simple subtraction is useful only where the vehicle and carrier manufacturers permit that arrangement and define the applicable load accordingly. Rear extensions, adapters, unusual mounting positions and some vehicle types can introduce additional restrictions. Do not infer approval from arithmetic alone.
Worked example: enough total capacity, but one bike still fails
Hypothetical setup, not a Jimsen or carrier specification: assume the approved mounting allowance is 75 kg including the carrier, the carrier weighs 20 kg, its bicycle payload limit is 60 kg, and each bike position permits 30 kg.
Available bicycle mass under those assumptions is the lower of 75 − 20 = 55 kg and 60 kg: therefore 55 kg. Two bikes weighing 28 kg and 26 kg total 54 kg and pass these three weight checks. Bikes weighing 31 kg and 23 kg also total 54 kg, but the 31 kg bike fails the individual 30 kg limit. Neither calculation proves dimensional fit or safe attachment.
A real specification shows why model numbers matter
The Australian listing for Thule Epos 903310, checked 21 September 2026, gives a 73 kg load capacity, 34 kg maximum bike weight and 23.3 kg carrier weight. It also lists dimensional limits and conditions for particular uses. These figures apply to that listing and model, not every Epos, towball rack or regional variant. Use the supplied manual and fit confirmation, not this example, to approve your own setup.
Check fit after checking weight
- Wheels: confirm wheelbase, wheel diameter and tyre width are within the carrier’s limits. Our ETRTO tyre-size guide helps identify the size rather than relying on a vague “26-inch” description.
- Attachment: identify the approved contact point. A clamp must not bear on an unsuitable battery cover, hose, cable or other vulnerable part.
- Frame material and shape: obtain the required approval for carbon or unusual frames and use only approved protection or adapters.
- Clearance: check between bikes and against the vehicle, exhaust and moving tailgate. Do not assume a tilting carrier provides clearance for every bike.
- Visibility: confirm the required number plate, lights and any local warning equipment remain effective.
The bike should fit the intended securing system without forcing the wheel trays or using elastic cords as substitutes for approved restraints. Keep the carrier’s instructions accessible during the trip.
Should you remove the e-bike battery?
Follow the bike manufacturer’s transport instructions. For its systems, Bosch advises removing a detachable display and, if possible, the battery for car transport, then stowing them inside. It also cautions against prolonged strong sunlight on a battery in the car and recommends avoiding exterior transport in wet conditions. Those are Bosch instructions, not permission to dismantle an integrated battery on any bike.
If the maker specifies battery removal, include it in the loading routine and secure the removed battery as instructed. If removal is not an owner operation, use the actual assembled weight and obtain suitable transport advice. Removing a battery cannot make an unapproved rack compatible with the frame.
Do not charge a battery while it is loose among luggage or transport a visibly damaged pack as though it were ordinary baggage. Consult its manufacturer or an appropriate service provider about a damaged battery. For storage before and after a journey, see our battery storage guide.
A departure checklist to use with the manuals
This is a reminder list, not an installation procedure. Have a qualified supplier demonstrate the correct setup if any step is uncertain.
| Check | Evidence or action |
|---|---|
| Approved combination | Correct vehicle, carrier model, bike configuration and applicable manuals |
| Actual load | Measured weights including items left on the bikes; all relevant limits pass |
| Carrier condition | No damaged securing parts; fitting and locking follow its instructions |
| Loose accessories | Remove items the manufacturer requires removed; store them securely |
| Attachment and clearance | No trapped cables, unsuitable clamping or contact likely to damage a bike |
| Road requirements | Visibility, lights, plate and overall dimensions checked for the route |
| Recheck plan | Follow the carrier’s inspection intervals; stop safely if movement or unusual noise occurs |
Thule’s cited instructions prohibit improvised modifications and elastic bungees as load securing, address removable accessories and require checks during use. Follow your carrier’s own directions rather than adopting another model’s torque settings, speed guidance or inspection interval.
After unloading
Inspect the bike before riding: confirm any removed parts are correctly refitted, the battery is secured as instructed, wheels and controls are ready for use and nothing was damaged in transport. If wheels were removed, follow the exact axle and brake procedures or ask a technician to refit them. Our pre-ride inspection guide provides the broader checks.
Frequently asked questions
Can I put an e-bike on a normal bike rack?
Only if the manufacturer approves the complete combination and every limit passes. “Normal” says nothing about permitted weight, attachment or vehicle fit.
Can I cover the bike while driving?
Only where the rack and bike instructions permit the specific arrangement. A cover changes wind loading and is not automatically an approved weather solution. Do not use one to work around transport restrictions.
Does removing the front wheel make inside-car transport safe?
It may help fit, but it does not provide restraint or approval. Confirm safe positioning and secure loading, and follow the correct wheel-removal and reinstallation procedure. If you cannot do that confidently, use another arrangement or professional help.
What is the next step before buying a rack?
Send the rack supplier your vehicle and mounting details plus the bike weights and dimensions. Ask for written fit confirmation and the applicable instructions. A photograph and the phrase “two e-bikes” are not enough to approve a carrier.
Sources checked 21 September 2026. The 75/20/60/30 kg calculation is an illustrative scenario; the separately labelled Thule figures are a dated, model-specific example.