
What Size E-Bike Do I Need? Height, Inseam and a Test-Ride Checklist
Use the size chart for the exact e-bike model to shortlist a frame, then check your inseam, saddle adjustment and reach on the bicycle. Height alone cannot establish fit. A low-step frame may be easy to mount yet too long for your torso; a small-wheel folding bike may suit a tall adult. You need to pedal, reach both brake levers and stop with control without pushing adjustable parts beyond their marked limits.
This guide covers adult pedal-assisted bicycles. It is a purchase checklist, not a medical bike fit or a universal conversion from height to frame size. Persistent pain or limited mobility warrants help from a qualified fitter or appropriate clinician.
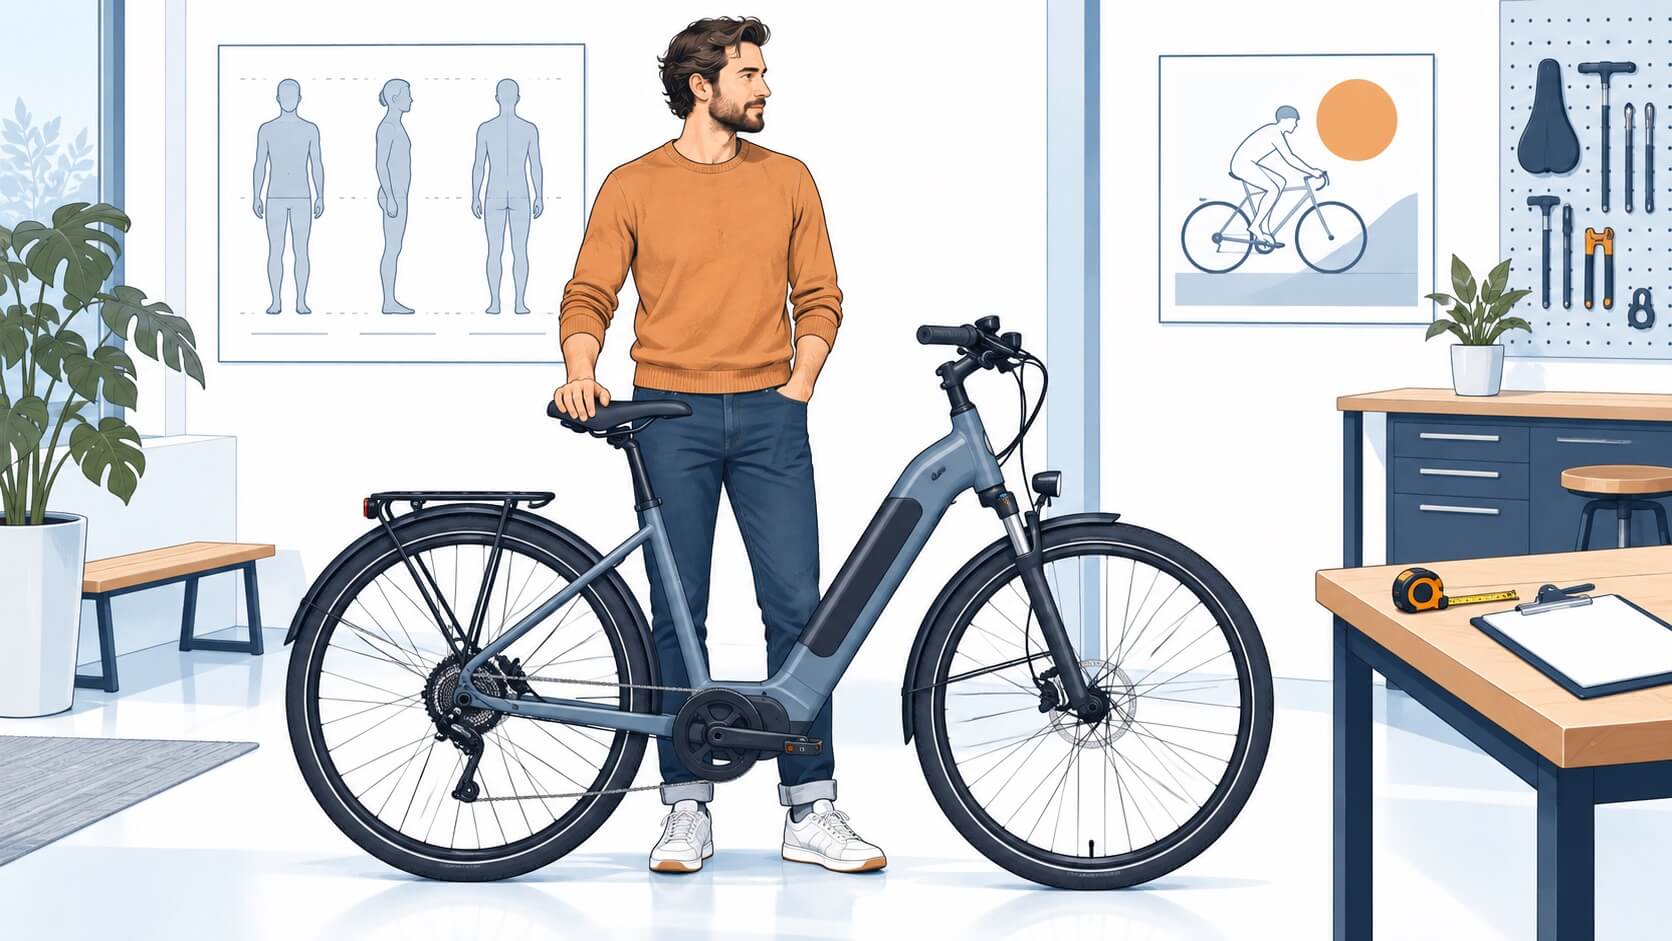
Start with two measurements and the right model chart
Measure your height without shoes against a wall. For cycling inseam, stand upright with your feet a short distance apart and hold a hardback book level between your legs, with gentle saddle-like contact. Measure from the floor to the top edge. Repeat the measurement, preferably with someone helping. Trouser inseam is not the same measurement.
Record centimetres or inches consistently. Divide centimetres by 2.54 to convert to inches. For example, an 80 cm cycling inseam is about 31.5 inches. That is a measurement conversion, not a recommendation for a 31.5-inch frame. The manufacturer’s chart and its measurement method still control the shortlist.
Find the exact model, year and frame style. Ask the seller for the chart if the listing provides only “medium” or a broad rider-height range. Do not transfer the size you ride in one brand to another. Even two bicycles from the same brand can have different proportions and intended riding positions.
Read the geometry without confusing the measurements
| Measurement | What it tells you | What it cannot decide alone |
|---|---|---|
| Rider height range | The manufacturer’s starting size recommendation | Whether your leg and torso proportions suit the bike |
| Standover height | Frame clearance where the manufacturer measures it | Saddle height or comfortable handlebar reach |
| Frame reach | Horizontal distance from the bottom bracket to the top-centre of the head tube | The final hand position, which also depends on the stem and handlebar |
| Frame stack | Vertical distance between those geometry reference points | How upright you will sit after the cockpit is set up |
| Saddle adjustment range | Whether the supported seatpost position can accommodate your leg length | Whether the frame is too long or the controls are accessible |
| Wheel or tyre size | A wheel-system dimension | The frame size or rider-height range |
A 20-inch wheel and a 20-inch frame refer to different parts of the bicycle. Use our e-bike tyre-size guide for wheel and tyre markings; do not use them as a body-fit chart.
A real chart shows why the height bands overlap
The Sinch Jaunt EZ 2.5 Anthracite page, checked on 21 September 2026, lists the following. These figures apply to that model only; they are not a Jimsen size chart or a recommendation to buy it.
| Listed size | Rider height | Frame reach | Standover |
|---|---|---|---|
| S/M | 154–170 cm | 430 mm | 422.7 mm |
| M/L | 168–182 cm | 450 mm | 422.7 mm |
| XL | 178–194 cm | 460 mm | 422.7 mm |
A 169 cm rider falls within two listed bands. Both sizes have the same low standover, but their reaches differ by 20 mm. Stepping through either frame therefore does not resolve the choice. Try both with the saddle and cockpit set within their permitted ranges. The rider’s proportions and control on the bike determine the next step.
A folding-bike example uses a different sizing approach
The Tern Vektron S10 Gen 3 specification, also checked on 21 September 2026, lists one frame size, a suggested rider-height range of 147–195 cm, a seatpost-to-handlebar distance of 62–69 cm and a saddle-to-pedal distance of 67–110 cm. These are that model’s listed dimensions, not frame-reach or cycling-inseam measurements. Compared with the Sinch chart, it shows why letter size and wheel diameter cannot be transferred between designs. Each rider still needs an individual fit and control check.
Test fit before switching on assistance
Ask a shop to set the bicycle up for you. Start on level ground with assistance off and someone supporting the bike where needed. Wear the footwear you intend to ride in. Mount, dismount and stand over the frame. Use the clearance guidance in that bicycle’s manual rather than a universal internet allowance.
Check that the saddle can reach a suitable pedalling position while the seatpost remains within its insertion limits. A saddle forced too low to make a tall frame manageable can leave you cramped while pedalling. Raising it beyond the limit creates a different safety problem. Moving the saddle far forward to compensate for an excessively long cockpit is not a sound substitute for checking the frame.
With hands in the normal riding position, reach and operate both brake levers without losing your grip. Ask about the lever’s approved reach adjustment if necessary. Turn the bars and check that your knees, cables and accessories have clearance. These are separate checks from whether you can sit on the saddle.
Use a short, controlled test ride to make the decision
- Start with the shop’s safety briefing and the lowest suitable assistance setting. Practise starting and stopping in a clear, permitted area.
- Check whether you can look behind, signal when safe and control the bicycle without a strained reach.
- Make slow turns. Notice knee clearance and whether the bicycle feels manageable when speed drops.
- Try a representative gentle incline only when the shop confirms the route and your ability. Do not use a steep descent as an improvised brake test.
- Repeat with the neighbouring size when your measurements sit in overlapping bands. Keep the test conditions comparable.
Tell the fitter what felt wrong: pressure on hands, difficulty reaching a lever, cramped knees, an uncertain stop or trouble mounting. That gives them something to investigate. “It feels too big” does not identify whether the problem is frame length, saddle setup, controls or handling.
Inspect the test bike before riding. Our pre-ride and maintenance checks cover the condition checks that sit alongside fit. A worn or poorly adjusted demonstrator can distort your impression of the model.
Between sizes, buying online or sharing one bike
There is no universal rule to choose the smaller frame. A smaller option may reduce reach but require more seatpost extension; a larger option may create access or control problems. Ask the seller to explain the adjustments on each candidate and compare both. If neither fits within approved adjustment limits, shortlist another model.
For an online purchase, request the minimum and maximum usable saddle height, geometry chart and return conditions before ordering. Confirm whether saddle height is measured from the ground or from the bottom bracket. Those numbers cannot be compared directly. A photograph of the measurement points helps prevent an avoidable mistake.
Two riders sharing a bicycle should each pass the fit and control checks. An adjustable seatpost does not guarantee that both can reach the handlebars. Record separate settings, including lever adjustments where supported. Verify the permitted total load as well: rider fit and structural load capacity are different questions.
Common sizing questions
What frame size should I buy at 170 cm tall?
Start with the 170 cm recommendation for the exact model. If the chart overlaps, try both candidates and compare inseam clearance, saddle position and control reach. Assigning every 170 cm rider the same letter size would ignore differences between bicycles and body proportions.
Does a step-through fit any height?
No. The low opening helps access, while the saddle range and cockpit dimensions still limit fit. The model example above has equal standover across three sizes but different reaches.
Can a longer stem fix a small frame?
Do not assume so. A component change can affect handling, cable length and compatibility. Have a qualified shop assess the whole fit and the manufacturer’s permitted configuration.
What should I send a seller before a test ride?
Send height, measured cycling inseam, intended riding position, normal cargo and any access difficulty you want to address. Ask for the exact model/year, recommended size and a chance to compare the adjacent size. For a distributor developing a size range, provide the target riders and use case through Jimsen’s OEM/ODM enquiry route; request proposed geometry and a sample-fit validation plan, not a universal size promise.
Further reference: Trek bicycle owner’s manual explains first-ride fit and component adjustment boundaries. Use the manual supplied with your own bicycle for its limits.