
When Should You Replace E-Bike Tires? Wear, Damage and Fit Checks
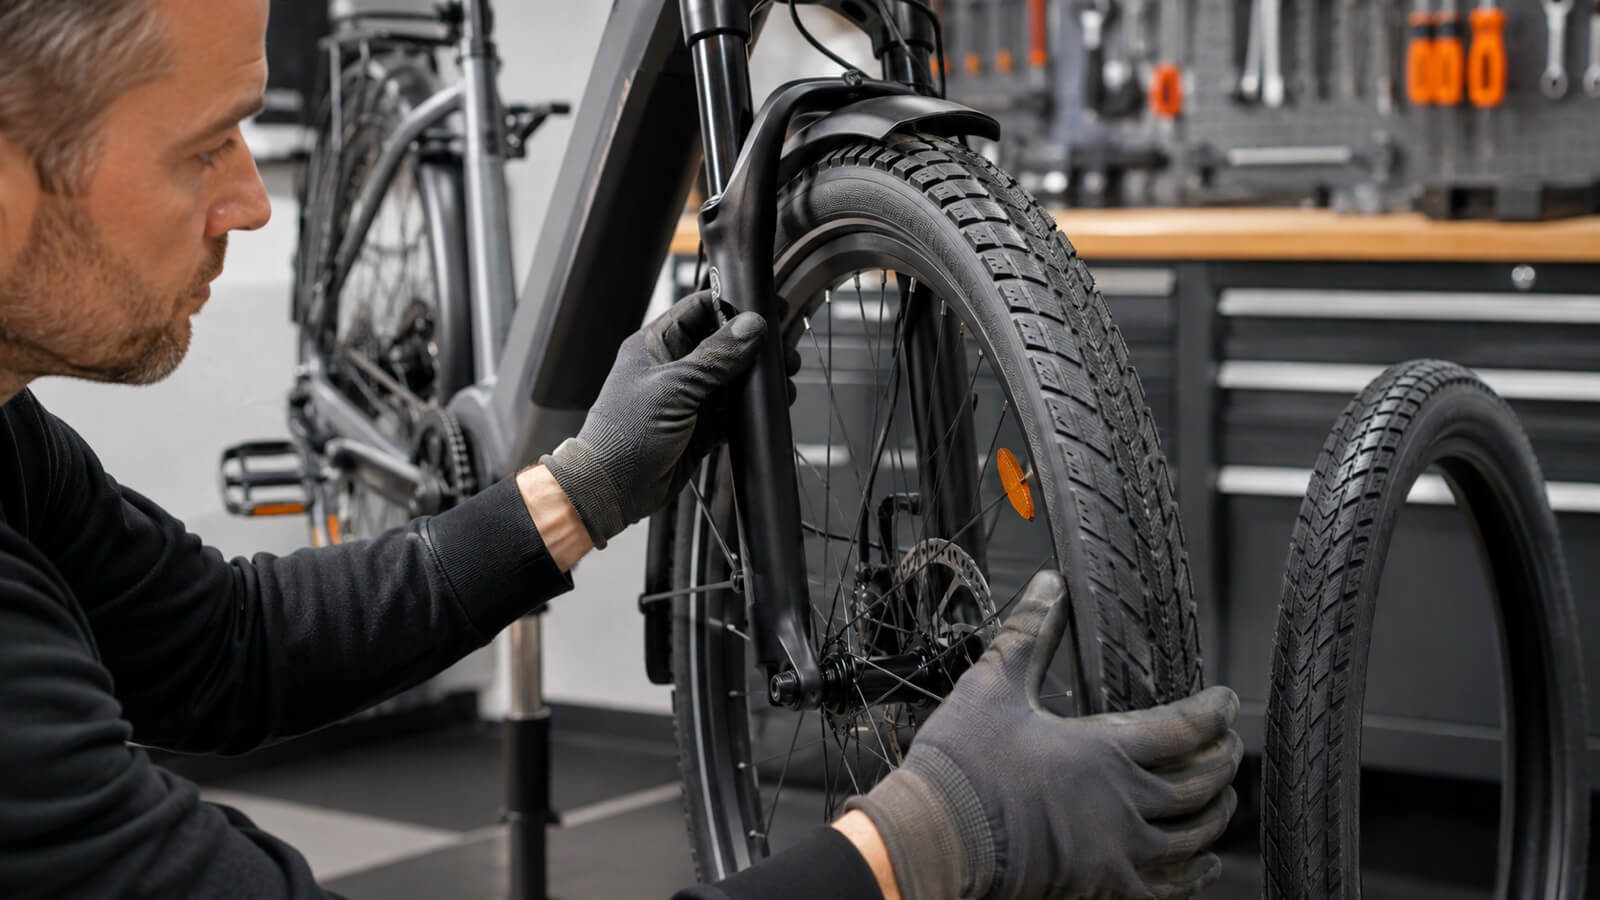
Inspect both tires after an impact, repeated pressure loss or a change in handling. Stop riding when damage could expose the tube or compromise the casing. A qualified mechanic should assess damage near the bead, rim, sidewall or a tubeless repair that you cannot identify with confidence.
Replace, inspect or monitor
Schwalbe states that its bicycle tires have reached the wear limit when the puncture-protection belt or carcass threads become visible. Some road tires use model-specific tread wear indicators. Other brands use different markers or no indicator, so the tire manual and product page decide.
Seven places to inspect
| Inspection area | Look for | Action |
|---|---|---|
| Centre tread | Maker’s wear indicator, flattened profile, cuts, exposed layer or casing threads | Replace at the maker’s limit or when structural layers show. |
| Shoulders | Uneven wear, cracking, torn knobs or abrasion | Check pressure, alignment and use; replace structural damage. |
| Sidewalls | Bulges, cords, fatigue cracks, deep cuts or heavy scuffing | Stop for structural damage; do not patch a bulging casing. |
| Bead and rim interface | Bead damage, poor seating, rim damage or repeated air loss | Do not ride until tire and rim compatibility are confirmed. |
| Valve area | Torn base, leakage, movement or damaged tubeless valve | Identify whether the tire, tube, valve or rim tape is at fault. |
| Inside casing | Hidden cut, exposed cord, tube abrasion or damaged rim tape | Inspect during removal; replace compromised casing. |
| Wheel rotation | Lateral wobble, hop or local bulge | Stop and find the cause before riding. |
Tread depth is only one part of bicycle tire wear
A smooth centre tread does not mean the same thing on every bicycle tire. A city slick and an MTB tire start with different tread patterns and depend on them in different ways. Schwalbe notes that worn tread can be less critical on some bicycle tires than on car tires, while MTB tread affects off-road grip and control.
Exposed casing or puncture-protection material is a clear limit. Missing knobs, torn rubber, cuts and loss of wet or loose-surface grip can require earlier replacement for the bike’s use. Judge the tire against its original design and manufacturer guidance.
Sidewall damage can end a tire before the tread wears out
Low pressure makes the sidewall flex more under load. Over time, this can produce fatigue cracking or abrasion even while the centre tread looks usable. Schwalbe identifies prolonged underinflation as a common cause of early sidewall failure.
A bulge, visible casing cord, split, bead damage or cut that changes shape under pressure is not a cosmetic problem. Deflate the tire and have it replaced or inspected according to the maker’s procedure. Do not rely on an external patch to restore a damaged load-bearing casing.
Why one replacement mileage does not work
Tire makers publish wide ranges even within one brand. Schwalbe says mileage varies with pressure, load, road surface, temperature and rider, and it does not provide useful general mileage data for MTB tires because riding style has too much influence. Those figures describe Schwalbe products, not every e-bike tire.
Use distance as an inspection reminder, not as an automatic replacement order. A cargo bike carrying heavy loads on rough roads may wear a rear tire faster than a lightly loaded commuter on smooth pavement. Front and rear wear also differ because drive, braking and load are not distributed equally.
Repeated punctures or air loss need a cause
A worn tread layer can reduce puncture protection, but repeated flats can also come from an embedded object, damaged rim tape, a valve problem, pinch damage, incorrect pressure, poor bead seating or a repair that no longer seals. Inspect the tire inside and out rather than replacing tubes without finding the source.
Tubeless systems add sealant condition, rim tape, valve and tire/rim compatibility to the diagnosis. Follow both tire and rim maker limits. Hookless rims can carry specific maximum pressures and tire requirements.
Choose a replacement that fits the complete wheel system
Match more than the marketing size. Confirm the exact ETRTO or ISO tire size, rim compatibility, permitted pressure, tube or tubeless system, valve, load rating and clearance around the frame, fork, mudguards and drivetrain.
| Specification | Where to verify it | Why it matters |
|---|---|---|
| ETRTO/ISO size | Tire sidewall, rim marking and bike manual | Marketing sizes can hide different bead-seat diameters and widths. |
| Rim and tubeless compatibility | Tire and rim maker documentation | Bead design, pressure and installation method must match. |
| Load and speed suitability | Tire technical data and vehicle requirements | E-bike, rider and cargo load can exceed a light bicycle use case. |
| Pressure range | Tire, rim and bike limits | The lowest applicable maximum and highest applicable minimum govern. |
| Clearance | Bike manual and physical inspection | Actual inflated width must clear the frame and components. |
| Local e-bike marking | Tire documentation and market rules | Some markets or faster vehicle classes specify approved tire markings. |
Do not assume a wider, heavier or more puncture-resistant tire is compatible because it fits the rim. Its inflated dimensions and load can affect clearance, handling and the complete vehicle configuration.
A practical tire inspection routine
- Clean the tire enough to see the tread, shoulders and sidewall.
- Rotate the wheel and inspect the full circumference on both sides.
- Locate any maker-specific wear indicators.
- Check pressure with a gauge and investigate repeated loss.
- Look for wobble, bulges and bead-seating changes while the wheel rotates.
- Remove the tire for an internal inspection if the puncture or damage requires it.
- Record the date, odometer, pressure and findings for fleet or heavy-use bikes.
Add the check to the e-bike maintenance schedule. If tire damage followed a braking or wheel problem, review the brake-pad inspection guide and have the wheel system assessed.
Questions about replacing e-bike tires
How long do e-bike tires last?
No single mileage applies. Pressure, total load, road surface, temperature, tire construction and riding style change wear. Inspect the tire and use its maker’s limit rather than a universal kilometre figure.
Do e-bike tires wear faster than normal bike tires?
They can under higher load, stronger acceleration or heavy braking, but construction and use matter more than the e-bike label alone. Compare tires designed for the vehicle’s load, speed and market requirements.
Should I replace both e-bike tires at the same time?
Not by default. Inspect each tire and replace the damaged or worn one. Confirm that the resulting front/rear combination remains permitted and suitable for the bike.
Are sidewall cracks always dangerous?
Small surface aging marks and structural fatigue are different. Stop riding for bulges, visible cords, deep cuts, splits or a crack that opens under pressure. Ask a qualified mechanic when the depth or casing condition is uncertain.
Can I repair a cut e-bike tire?
A tube patch does not repair a damaged tire casing. Tire boots and tubeless plugs have product-specific uses and limits. Follow the tire maker’s repair instructions and replace a tire with compromised structure.
Specifying tires for an electric two-wheeler project
Dealers and importers should define total load, surface, climate, speed class, puncture-resistance priority, service access and local marking requirements before selecting a tire. Jimsen can review those requirements with the proposed wheel and vehicle configuration. View electric bike categories or send the tire and duty-cycle brief.